From the Workshop: Sax Tone Hole Repair
5th July 2021When replacing, re-seating or generally involving yourself with Saxophone pads, a flat tone hole is something of a necessity. However it can be something you take for granted and then find challenging when a certain pad won’t behave due to tone hole issues. Checking and resolving tone hole issues is a key skill for any successful Saxophone repairer.
In this blog Abi from our Workshop takes a look at some of the tools on the market for diagnosing and resolving issues with Saxophone tone holes…

Tone Hole Damage
Saxophone bodies can take drops and bumps from all angles, and even though pillars can be pushed in or knocked off by such damage, surrounding tone holes can conceal torment for repairers. When you’re done straightening, aligning and correcting all the other elements of the damage, the tone hole can be ovalled, warped, distorted and, crucially – no longer flat. There are a number of tools out there to help with this, each with their own benefits.
1. Tone Hole Pliers
The MusicMedic Tone Hole Pliers (MM-Tool-pl220) make quick work of repairing or rounding off tone holes and pad cups. The unique angle on the front of the pliers allows you to get into tight spaces when a pad cup or small tone hole rim is bent down. The flat and round jaws of the pliers are buffed smooth to work without marking, so you can tweak the sides of a brass tone hole back into shape with ease and efficiency.
2. Expanders
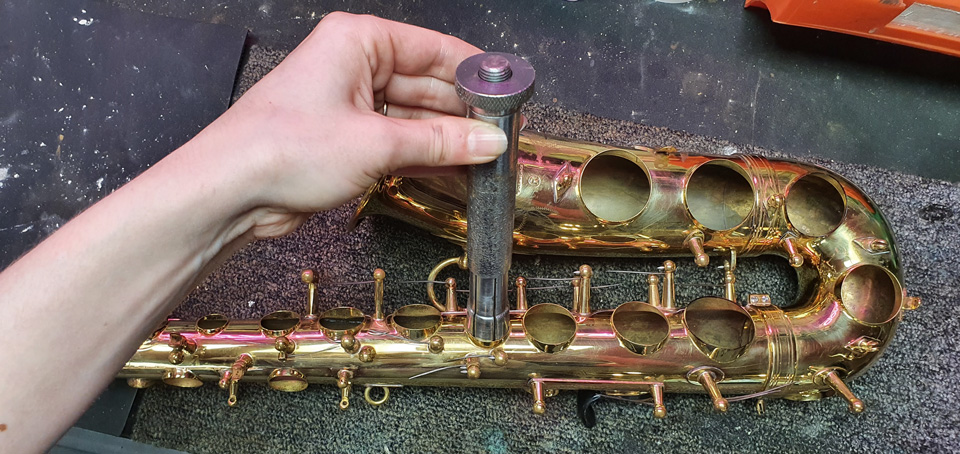
Expanders can be a nice way of rounding off tone holes from the inside, if they can fit. We always have the Ferree’s Expanders for Flute Headjoints (FH62) Alto/Bari Sax Crooks (FH60) and Tenor Sax Crooks (FH61) close by, but these examples won’t work for every tone hole size. There are many other sizes of Ferree’s expanders available, mostly smaller.
By inserting the closest fitting expander just through the opening of the tone hole, tightening the handle will cause it to open up slightly. Cork grease can be used as a lubricant between the surfaces. Only very slight pressure is required, and then the expander can be rotated while carefully pulling up and out of the tone hole. It’s highly polished Chrome plated surface is smooth and won’t mark the metal.

3. Checking the Tone Hole
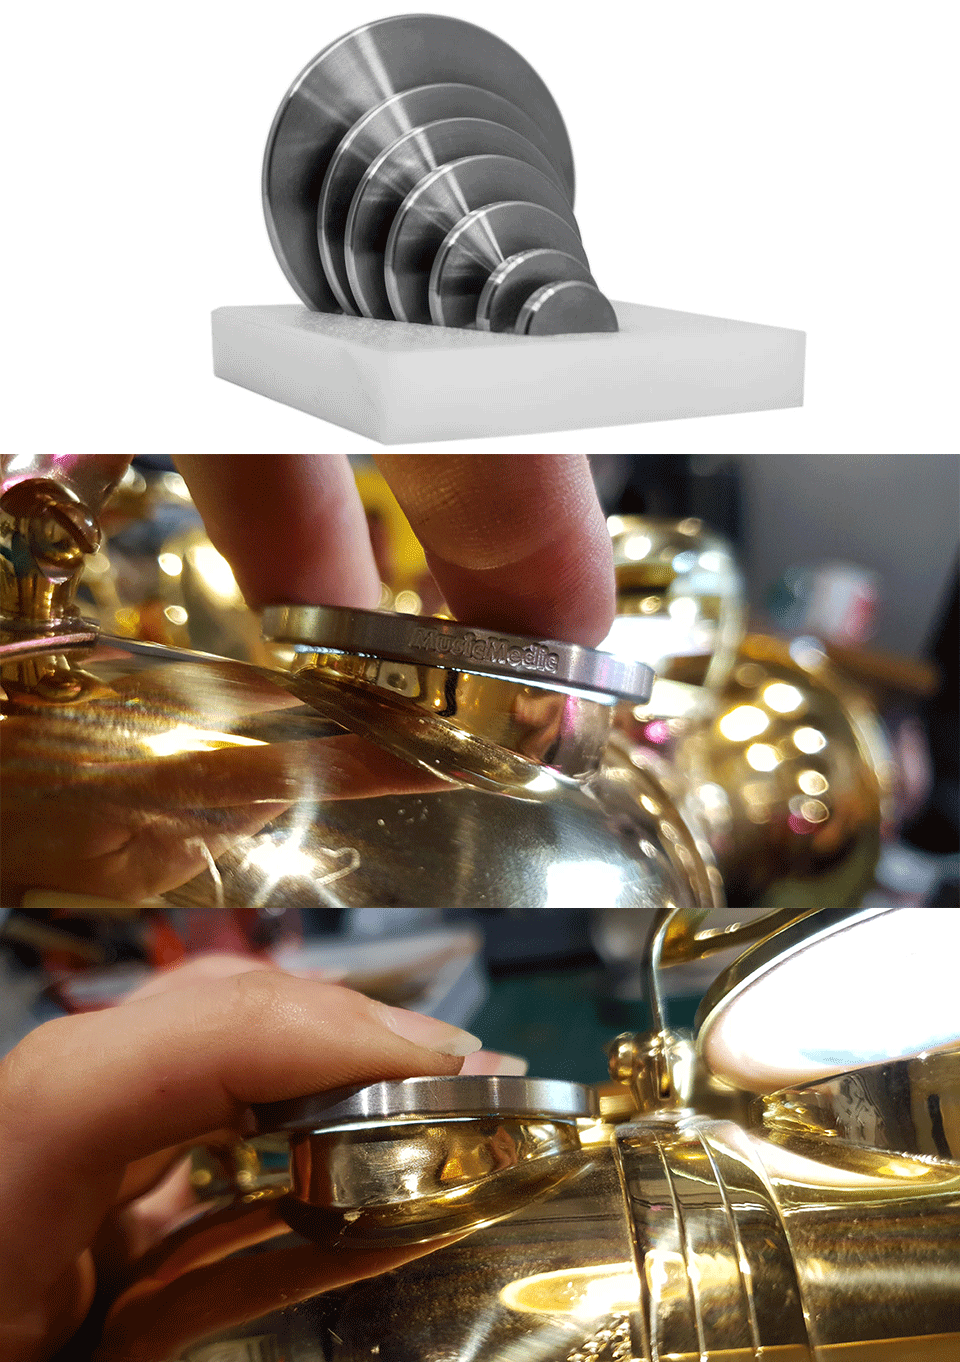
Once the tone hole is straight and round from a birds-eye view, you can begin to gauge how flat the surface of the rim is. Sometimes wonky tone holes are quite visually obvious, but for those times the problem is more discreet, the MusicMedic Tone Hole Checker Set (MM-Tool-d900-THC) will help remove the guesswork.
Checking your tone holes with truly flat, clean, precision levelled corrosion resistant stainless steel discs allows you to re-surface and repair tone holes with confidence. With a leak light inside the Saxophone and the affected keywork removed, place the appropriate diameter disk (there’s 7 different options in the set) flat onto the surface of the tone hole.
High and low spots will be visible as any areas where light is peeking through are simply not flat. Check the surrounding body work for any ripples or pillars leaning slightly into the body, look inside the bore if you can, to check for distortions inside the tube.

Always look to correct surrounding body damage before touching the tone hole because once you take material away, you cannot put it back. Less is more when it comes to filing tone holes, for the longevity of the instrument and for future repairers. Once you know that other potentially related issues are dealt with, you can look to flatten the rim of the tone hole.
4. Tone Hole Files
Tone Hole Files are essential for precision Saxophone work, when working on vintage horns or working with very firm pads. We like to draw over the rim of the tone hole with black marker pen before starting to file, as you can see exactly when to stop. A single sweep of the file will show you the status of your tone hole, the solid black line around the rim will break down into just the low spots, eventually disappearing completely with further filing.
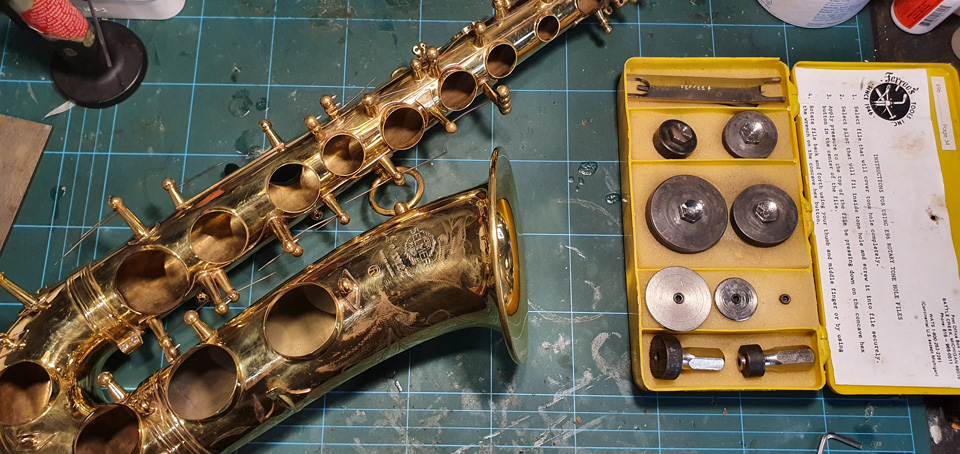
We really like the MusicMedic Set of 6 Tone Hole Files (MM-JS-s200-2-Med) Rotary tone hole files are extremely efficient and accurate, and these ones are especially nice to work with because of the ease in which every tone hole can be accessed. The brass disc file is placed face down on the tone hole and turned with the specially designed T-shaped handle while applying pressure.
The ball end of the handle connector prevents tilting of the file on the tone hole, keeping it dead flat and allowing even pressure to be exerted. This set comes with 6 machined discs/pilots ranging from 12mm to 50mm in diameter which is Suitable for all Alto and Tenor Saxes, but the 63.5mm file is available separately for large Bari bell pads (MM-JS-s200-4-Med) This kit uses diamond abrasive in ‘medium’ grit which is most versatile – also available in ‘fine’ grit on request.
We also keep stock of Ferree’s Rotory Tone Hole Files (FE974) and have both these sets in our workshop. This kit also contains various diameters of files, with a selection of plastic pilot disks and a handle, all in a compact storage box. The combinations of these disks will allow you to tackle almost any tone hole. The handle locks in like a spanner around the pilot screw, and you can apply pressure while rotating the disk side to side.
These tools are made from brass which allows cleaning of the abrasive diamond disc with a toothbrush and plain water. We keep stock of the 400 grit set as it’s most versatile, but a set is also available in 800 grit on request.
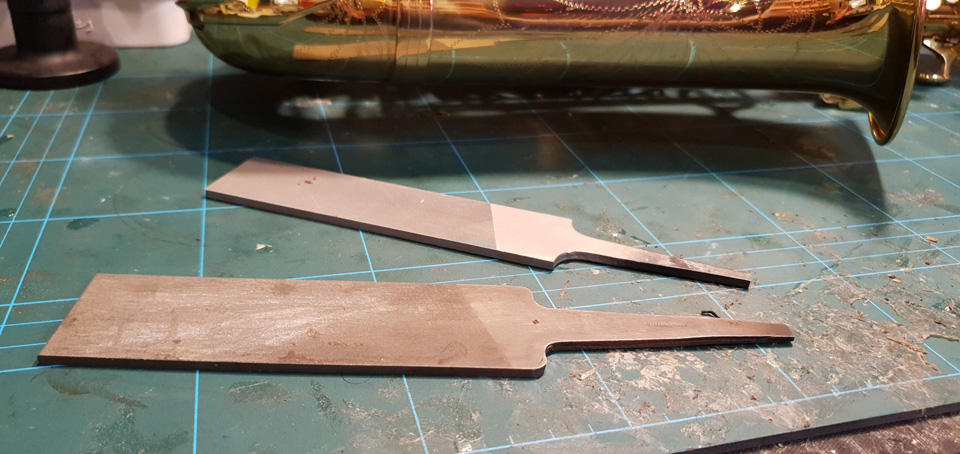
For those that don’t want to invest in a set of rotary files, manual files do exist and are a perfectly suitable alternative. They do require more sensory input from the repairer, as the file needs to be held completely flat with equal pressure while in use. We would recommend placing 2 fingers on the top to stabilise the file while working in slow, mindful strokes.
Fine cut Ferrees Tone Hole files (FE29, FE29A, FE29B) are available in 3 different sizes to help ensure that you can get to most tone holes, making them perfectly equal all the way around. They will usually cover a complete tone hole, ensuring an even flat cut.

In Conclusion
The key to tone hole repair (as with most instrument repair) is knowing when to stop. Empowering yourself with the tools to both diagnose and address this kind of issue will save time and mental anguish in the long run. Please don’t hesitate to get in touch with us at repairs@dawkes.co.uk if you have any questions about any of the tools mentioned.